Starting On the Fly Computer Vision with OpenCV.js
While the original OpenCV stayed in C++, we already conceived the massive utilization in Python.
OpenCV started quite old with the first release aired in 2000, when Gary Bradski and Vadim Pisarevsky managed it. In 2005, OpenCV won the DARPA Challenge and later developed massively by the open source community.
While the orthodox flow of computer vision processing occurs at standalone application, back-end or via API, the needs of in-browser rendering for simplicity grew rapid such as virtual reality (VR) and augmented reality (AR). JavaScript is a language widely used for web development, and the additional support and implementation of computation-intensive computer vision library for JavaScript is indeed a shortcut. OpenCV.js came as a binding for JavaScript application to the original OpenCV. It was started in Parallel Architectures and Systems Group of University of California Irvine (UCI) as a research project funded by Intel Corporation, and was further developed into the OpenCV project as part of Google Summer of Code (GSoC) 2017.
Thanks to the Node.js and NPM package manager for JavaScript, the installation and integration of OpenCV.js is now became easier.
Installation
To start, you need Node.js and NPM installed. Those articles should be helpful and more relevant for your OS for this step.
Downloading and Installing Node.js and NPM
Okay, now let’s assume Node and NPM were installed, and we can start to acquire OpenCV.js. The traditional installation would suggests you to build from source using emscripten, but I found the much easier way using OpenCV.js NPM package binded to OpenCV 3.3.
. Thanks to this maintained fork, the installation process is more straightforward. Simply install in the terminal.
npm install opencv.jsAfter the installation was completed, the terminal will print “added 1 package”.
After that, you need to install Jimp for reading image. Simply use the NPM swiss knife for that.
npm install jimpTesting
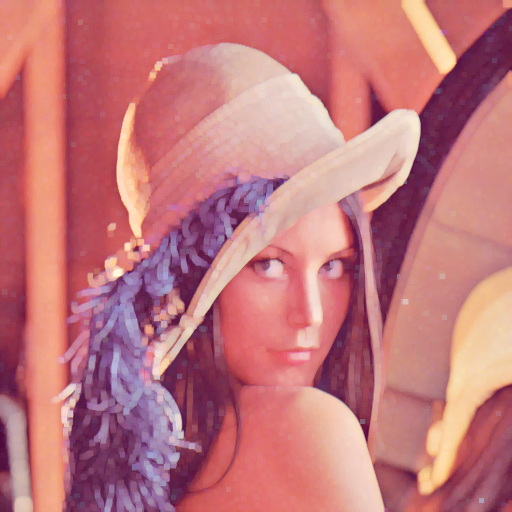
We will create image dilation to test the installation and use the basic function in OpenCV.js following the tutorial on the OpenCV website.
Create an empty folder, and initialize it as Node project using
npm init -yTo use the package, you need to put the opencv.js prebuilt script in your directory. Also, as an example, we can use sample image from OpenCV. Put altogether both prebuilt script and sample image in the folder.

Now, create a JavaScript file for the entrypoint, in example dilate.js . You have the opencv.js and dilate.js in your directory.
Now, write your main file (in this case dilate.js ).
const Jimp = require('jimp');async function onRuntimeInitialized(){// load local image file with jimp. It supports jpg, png, bmp, tiff and gif:var jimpSrc = await Jimp.read('./lena.png');// `jimpImage.bitmap` property has the decoded ImageData that we can use to create a cv:Matvar src = cv.matFromImageData(jimpSrc.bitmap);// following lines is copy&paste of opencv.js dilate tutorial:let dst = new cv.Mat();let M = cv.Mat.ones(5, 5, cv.CV_8U);let anchor = new cv.Point(-1, -1);cv.dilate(src, dst, M, anchor, 1, cv.BORDER_CONSTANT, cv.morphologyDefaultBorderValue());// Now that we are finish, we want to write `dst` to file `output.png`. For this we create a `Jimp`// image which accepts the image data as a [`Buffer`](https://nodejs.org/docs/latest-v10.x/api/buffer.html).// `write('output.png')` will write it to disk and Jimp infers the output format from given file name:new Jimp({width: dst.cols,height: dst.rows,data: Buffer.from(dst.data)}).write('output.png');src.delete();dst.delete();}// Finally, load the open.js as before. The function `onRuntimeInitialized` contains our program.Module = {onRuntimeInitialized};cv = require('./opencv.js');
Or see this gist for the convenience.
Run the code with
node dilate.jsThe program will create a dilated image named output.png.
That’s the entry. For more tutorials, you can try to implement it in HTML from OpenCV page and more OpenCV.js tutorial
About the Author
Salman is the Chief Data Officer at Allure AI, an emerging beauty-tech startup in Indonesia. He was graduated from Astronomy and Astrophysics studies at Institut Teknologi Bandung. An avid reader, mountaineer, amateur basketball player, and lately developing interest in computational neuroscience.
Previously, he had an internship as AI engineer at Konvergen AI, a software engineer at Chatbiz.id, and a research assistantship in the astronomy department, as well as assisting various courses in astronomy, computational science, and management department.